My Craft is now closed and no longer taking orders, however if you have any queries regarding your materials you can still contact us at info@my-craft.com
  • 01454 200 644
  • - info@my-craft.com

Vaccination Celebration T-Shirt

by Samantha Watson on March 08, 2021

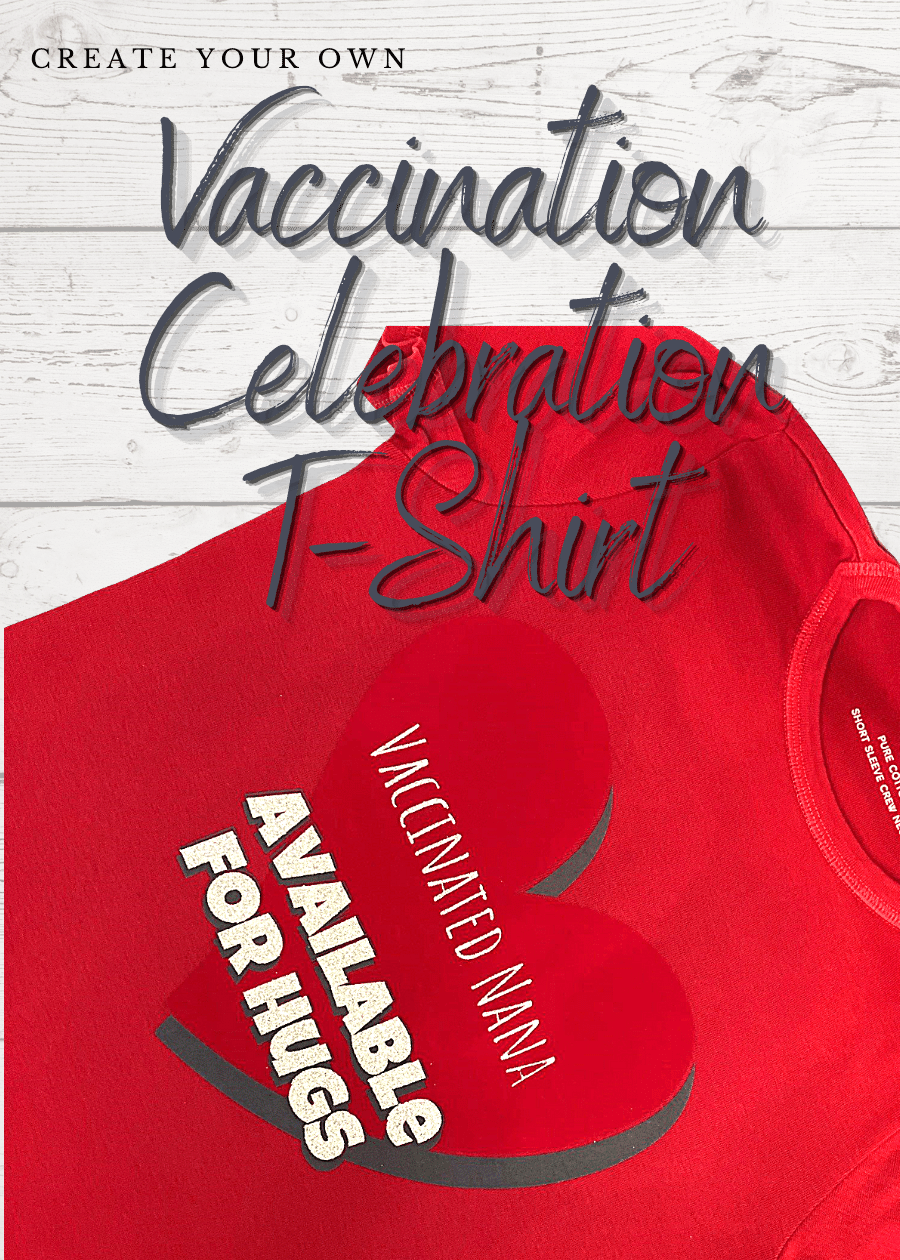
Time to celebrate being back with family and friends with our fab vaccination t-shirt design.

[[ recipeID=recipe-8kk42l9nb, title=Vaccination Celebration T-Shirt ]]

Vaccination Celebration T-Shirt

My Mum, who is part of our family support bubble, finally received her second vaccination three weeks ago. We have been so careful throughout the pandemic and even though she is in our bubble we've have had no physical or close contact of any sort for a year now but as infections are falling rapidly and the kids are being tested regularly at school we feel it may finally be safe for a cuddle. This is definitely an occasion that needs to be celebrated.

Servings: 1 medium

Keywords: Vinyl Craft, Test, Glitter HTV, Flock, Flex, T-shirt material, Personalised T-shirts, Vaccination T-shirts, Vaccination gifts, Grandparents, Poli-Tape, Poli-Flex, Glitter Flex, Tubitherm Flock, Flock HTV, Heat transfer film, Iron on film, Silhouette, Cricut, Brother ScanNCut, mycraft, Craft gifts, craft vinyl, craft htv

  • Prep Time: 15 mins
  • Making Time: 45 mins
  • Total Time: 1 hours 0 mins

Ingredients

Instructions

You Will Need

You Will Need

  • 1 Red t-shirt
  • 1 Mini roll red flock
  • 1 Mini roll glitter HTV
  • 1 Mini roll grey flock
  • Teflon sheet or protective paper
  • Heat press or iron
  • Weeding tool
  • Scissors or scalpel
  • Pressing pillow or towel

Instructions

Job Setup

  1. Create or import your design into your cutting software. As with all unprinted heat transfer films you will need to cut your shapes in reverse. The software will remind you to do this as long as you have HTV selected as your material, however it is easier to mirror your design now to avoid mistakes later. When positioning your job remember to leave a small space in the upper left corner for your test cut. I am going to use the cut by colour feature in the software to separate the job so if you haven't already chosen your colours, assign them to each shape now then press 'SEND'.

Cutter Setup

  1. Load your first material onto your mat if using and, as always, check your blade and perform a test cut. You can find instructions on how to do this here. You will also need to do this between each material if, as here, you are using glitter and flock because the cutting settings may differ for each media.
  1. Select 'FILL' at the top of your SEND dialogue box to select the media by colour. Check the onscreen box next to the colour you will be cutting first. As you can't layer the HTV you will also need to select the box for any shapes which overlap your colour so that you can cut and weed away the film underneath. Load your mat and send the information to your cutter then repeat for each media.

Weeding

  1. Weed and trim your HTV ready for pressing.

Pressing

  1. Turn over your HTV, line up the whole design on your tee so that you can check your positioning and mark if necessary. Any text should now read the right way. It shouldn't matter which colour you press first as all the shapes are inset rather than on top of each other. Place your teflon sheet over the top and press your first colour, I found it was easier to use a pressing pillow or a towel under the t-shirt here to give a better bond. Press for slightly less time than recommended as you will be heating again when you press the other colours. If your media is a warm or cool peel wait to allow the heat to disperse before peeling away the liner. Peel this away carefully to check that your media has bonded sufficiently, if not simply press for a few seconds longer. Repeat with the remaining colours, if your t-shirt is particularly stretchy you may want to apply the lines of text separately to help with registration. When you have pressed all the colours individually replace your teflon sheet and heat once more for a couple of seconds to ensure all the adhesive has been fully activated.

Notes

This is slightly trickier than your standard t-shirt graphic as we are using both flock and glitter HTV, neither of which is a suitable surface to layer onto so we have to use the cut out method. This means that the registration has to be extremely accurate which can be difficult especially if you have a stretchy t-shirt. To make this project easier simply swap your red flock for standard red flex then you can press the glitter letters over the top.

BACK TO TOP